An email is known as an official way of communication. The number of email users has seen a rapid increase in the past few years. Email is nowadays used for marketing too. It may sometimes be that one may often forget checking inbox and replying to a client. This may have a bad impact on the prestige of an organization. Several persons want to know how to send an automated reply to an email sender so as to inform them that they will be contacted later. More than 4 billion people are Gmail users, but most of them don’t know how to do it. Giving an immediate reply to your clients means that you really care about them. What will happen if you are not available at the moment. If you are one of those who wish to create an auto-reply in Gmail, here is how to do it.

Create Canned Response
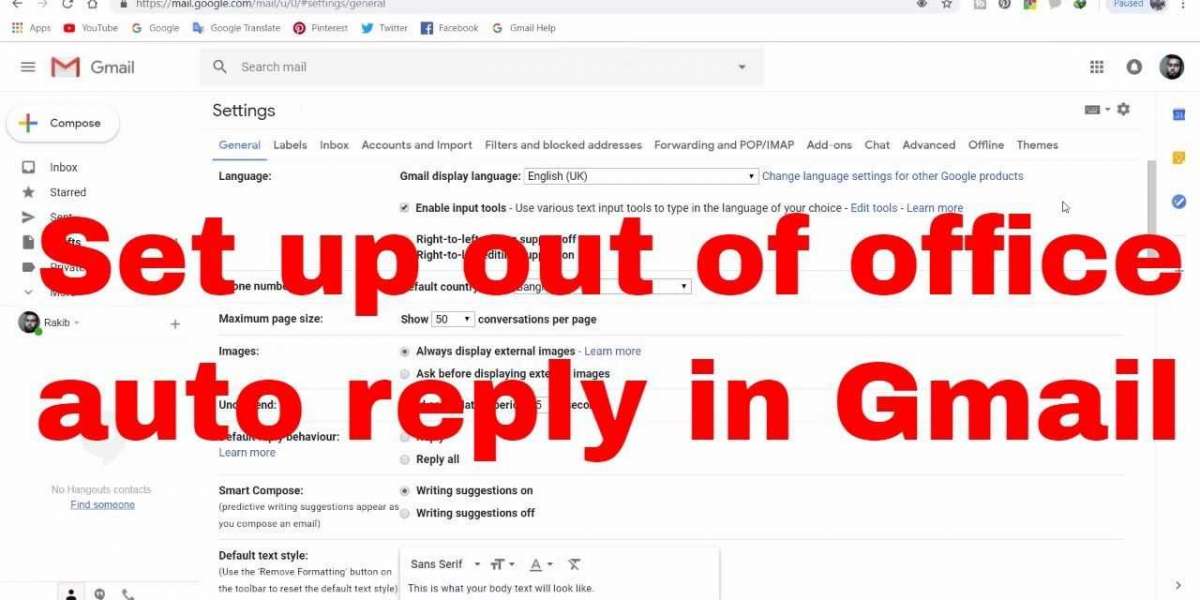
It is important to create a canned response in Gmail before you go further and create an auto-reply. In order to do so, you need to visit Gmail via the Chrome browser. If you are doing it on mobile, make sure you have set it to desktop mode. As you log in, click on the “Settings” icon. As you click on the “Settings” icon, you will see the “Advanced” option appearing. By clicking on the “Advanced” option, you will see “Auto-advanced” and “Canned Responses.” Note that “Canned Responses” should be enabled. Now is the time to compose a new email by clicking on “Compose.” You can type the message that you want to send to a sender as an automated reply. After you have typed your message, the next step is to click on the three dots that appear in the email window. Select the “Canned responses” and then click on “New canned responses.” You can type a name in the canned response and click on “OK.”
Create Auto Response
After you have gone through the process of saving the template, you can use it as an auto-response. Click on the “Settings” icon. The next step is to click on “Filters and Blocked Addresses.” Click on “Create a new filter.” As you click on the option, you will see a new window. You can fill in all the fields that appear in the window. After filling in all the required details, you can click on the “Create filter.” As you click on “Create filter,” a new window will open. Choose “Send canned response,” and then select the saved canned name. The final step is to click on “Create filter.” Whenever an email is sent to you, the automated reply will reach the sender.
Source: https://a1setup.co.uk/how-to-set-up-auto-reply-in-gmail/