In this article, we will discuss how you can add your own pronunciations on iPad and iPhone. It feels very convenient to have an iPhone that speaks for you while you are relaxing on your couch or doing some other activity.
The iOS devices are known for reading content appropriately; however, when it comes to pronouncing some specific names or words properly, the devices might fail at times. And this is where adding custom pronunciations come into the role. It is very easy to set up this accessibility feature on an iOS device. Follow the below-mentioned steps if you want to know how you can do so:

Add Custom Pronunciations on iPhone and iPad
The Speak Screen was mainly designed for individuals who are visually impaired, but anyone can use it to make their iPad or iPhone read the content. If your eyes are asking for a well-earned rest, you should prefer using it without any hesitation.
You don’t need any third-party tool for adding custom pronunciations, as it can be done directly from your device’s Settings. Your device doesn’t need to have the latest updated version of iOS on it. You will be allowed to create custom pronunciations even if your device is running on an older iOS version like 13 or 12. Below we have mentioned steps regarding how to add custom pronunciations on an iPad or iPhone.
- Open your device’s Settings app.
- Click on “Accessibility.”
- Further, press “Spoken Content” and then tap on “Pronunciations.”
- Then, click on the “+” icon that you can find on the upper-right side of your device’s screen.
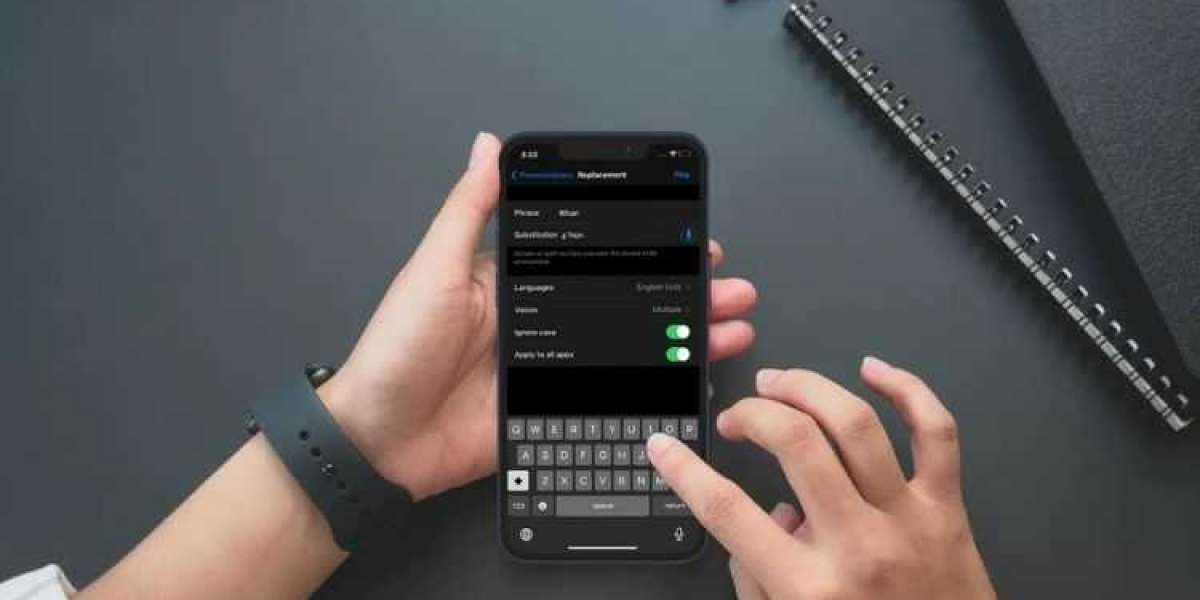
- Now you need to type the specific word or phrase in the Phrase box.
- After you do that, you need to dictate the pronunciation of that specific word or phrase, and from next time onwards, it will be pronounced the way you wanted it to.
- To dictate pronunciation, you need to tap on the microphone icon appearing inside the Substitution box. Further, you need to speak the phrase (meanwhile, you can also type it if desired).
- As a result, several pronunciations will appear on your screen, among which you need to choose your preferred one.
- After selecting the desired pronunciation, tap on Done, appearing on the top-right side of your device’s screen.
- You can also select your desired language in which the word or the phrase needs to be pronounced if you need a more personalized experience.
- That’s it. Now, whenever you will be using Speak Screen or Speak Selection, the phrase or the word will be pronounced by your iOS device, the way you have set it.
- You can also remove this custom phrase or word if it is not required anymore. For that, go to the “Pronunciations” setting, and further, click on the “Edit” button.
- Then click on the red box and tap on Delete.
So, these were the steps with the help of which you can easily add or remove Custom Pronunciations on your iPad or iPhone. The feature can be used when your device is not pronouncing any specific word or phrase correctly.
Source: https://m1setup.co.uk/how-to-add-your-own-pronunciations-on-iphone-and-ipad/