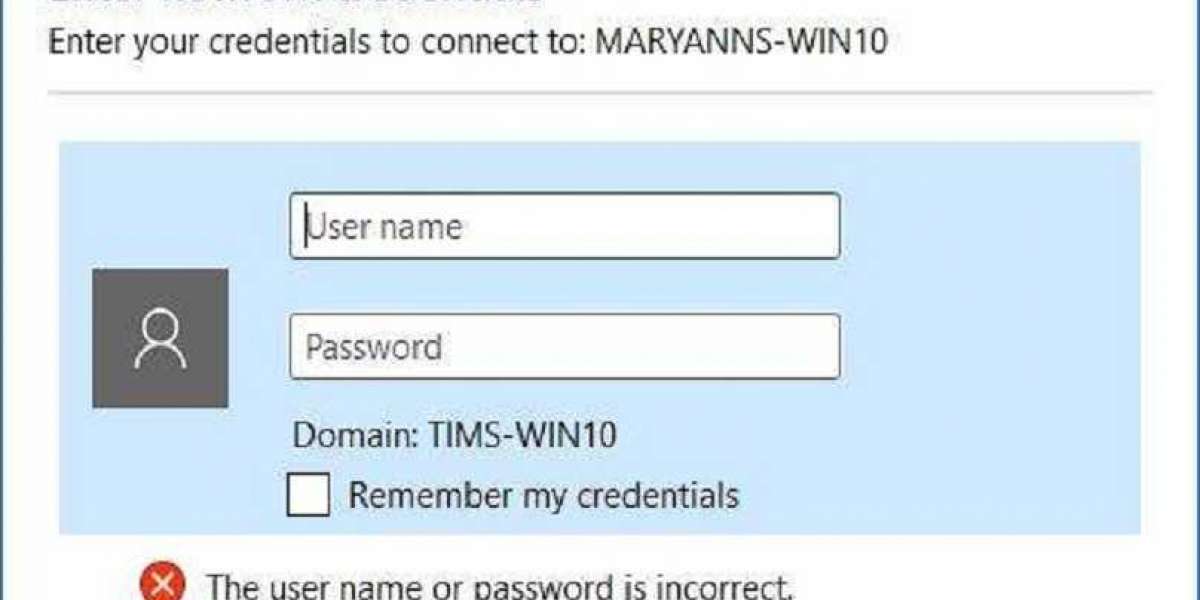
In case you use a local network, you are likely sharing the data between systems. To secure the system from unauthorized access, Windows 10 makes use of network credentials. According to many Windows 10 users, while it offers decent security, the ‘Enter network credentials’ error message crops up from time to time. This issue occurs when you attempt to access the shared directories or drives. To learn how to fix problems related to network credentials, follow the steps mentioned below.

Add Another System’s Details to Credential Manager
You can add another system’s detail to the Credential Manager by following these directions:
- Hold the Win + S hotkeys simultaneously to invoke the Search section.
- Afterward, insert ‘credential manager’ in it and press the Enter button.
- Don’t forget to choose the ‘Windows Credentials’ option and then select the ‘Add a Windows credential’ option.
- You should input the system name you would like to access, the name of the user, and the password associated with that name of the user.
- Once you have done so, hit the OK button.
Modify Advanced Sharing Settings
You can modify advanced sharing settings by pursuing these directions:
- Go to the network icon into the Taskbar and click on the ‘Network Internet settings’ option.
- You should select the ‘Sharing options’ button.
- Then locate the network file.
- Now, reach the section of ‘HomeGroup connections.’
- Remember to choose the ‘Allow Windows to manage homegroup connections (recommended)’ option.
- Now, hit on the ‘Save changes’ option.
Modify the Security Policies
You can modify the security policies by pursuing these directions:
- Hit the Win + R combination keys over the keyboard to open the Run prompt.
- Once the ‘Local Security Policy’ screen opens, reach the left panel and go to the ‘Local Policies’ option.
- Navigate to the ‘Security Options’ button, reach the right-side panel, and then twice click on the ‘Accounts: Limit local account use of blank passwords to console logon only’ option.
- Finally, click on the ‘Disabled’ option.
- Click on Apply.
- Click on OK.
Modify the Services
You can modify the services by pursuing these directions:
- Hit the Win + R combination keys over the keyboard to open the Run prompt.
- Now, type ‘services.msc.’
- Click on OK.
- Once the ‘Services’ screen opens, find the ‘Credential Manager’ option from the list, then twice click on it.
- In the properties screen, change the ‘Startup type’ to Disabled, then hit on the button of Stop to terminate the service.
- Finally, click on Apply.
- Click on OK.
Source: https://a6office.co.uk/how-to-fix-network-credentials-problems-on-windows-10/